How To Easily Hang A Gallery Wall
The Woodlands Family Photographer
Ashley Newman Photography
So you booked your photographer, you had your session, you got your photos back…now what? If you know me, you know how much I push printing your photos. it’s not because I am a sales person. I actually suck at that part of my job. I don’t want to try to sell anyone on anything. But I do feel passionately about displaying your images and having a tangible reminder of your session.
There is something so incredible about opening an album, running your hand over the images and remembering your babies as they were that day.
Or walking through your house on a particularly long day and having your smiling family to look at and remind you why you do what you do every day.
And that is why I print. To savor moments. To fill my house with memories and etch my walls with love.
But I will be the first person to admit that printing and then hanging photos can be stressful. Have you ever tried to build Ikea furniture with your spouse?! Almost divorce level stuff here. I get it. So I like to make it easy. Here is exactly how I hang photos at my house!
-
Pick the size I want to print. Bigger is always better in my opinion. But if you are intimidated by s larger print, start with an 8×10. I of course offer printing services, but be sure to research where you choose to print to make sure you are getting a quality product.
-
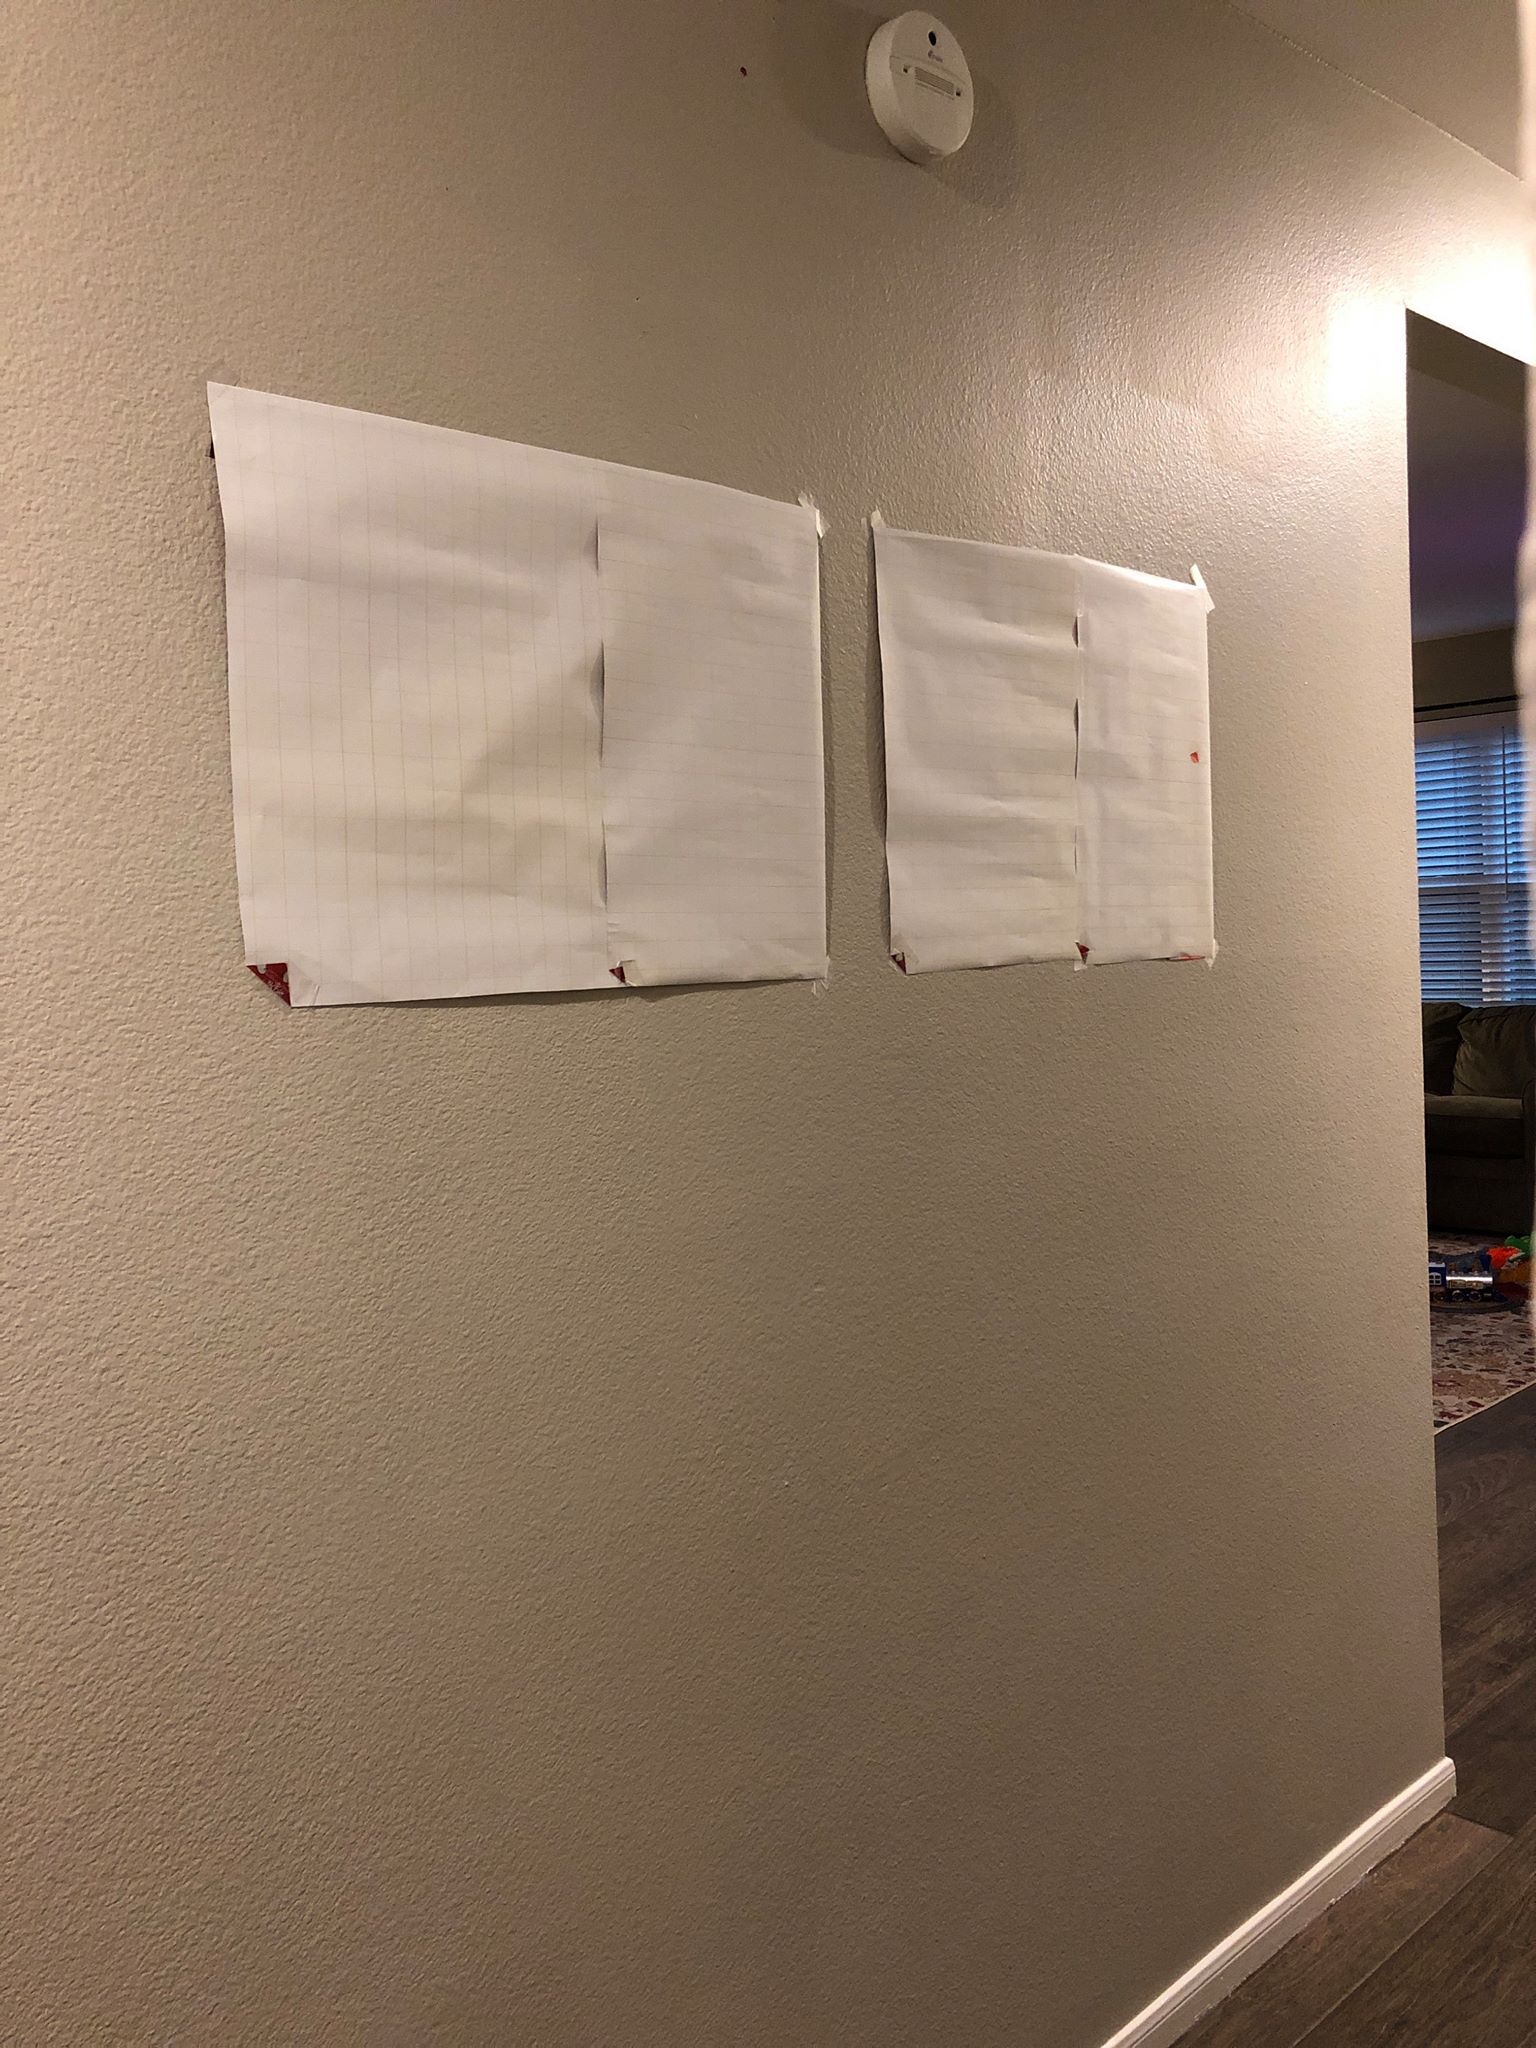
Find some old wrapping paper and measure out the size. Include the frame of course. Cut and repeat for the number of frames you plan to hang.
-
Decide on the location and tape the puppies up! This is my favorite part. Often, when I do this, I decide quickly that I want the frame and image to be larger than I had imagined initially. So this helps to visualize the space, even if it’s just a rough draft. I like to leave the wrapping paper up for a few days just to make sure I am in love with the placement.
-
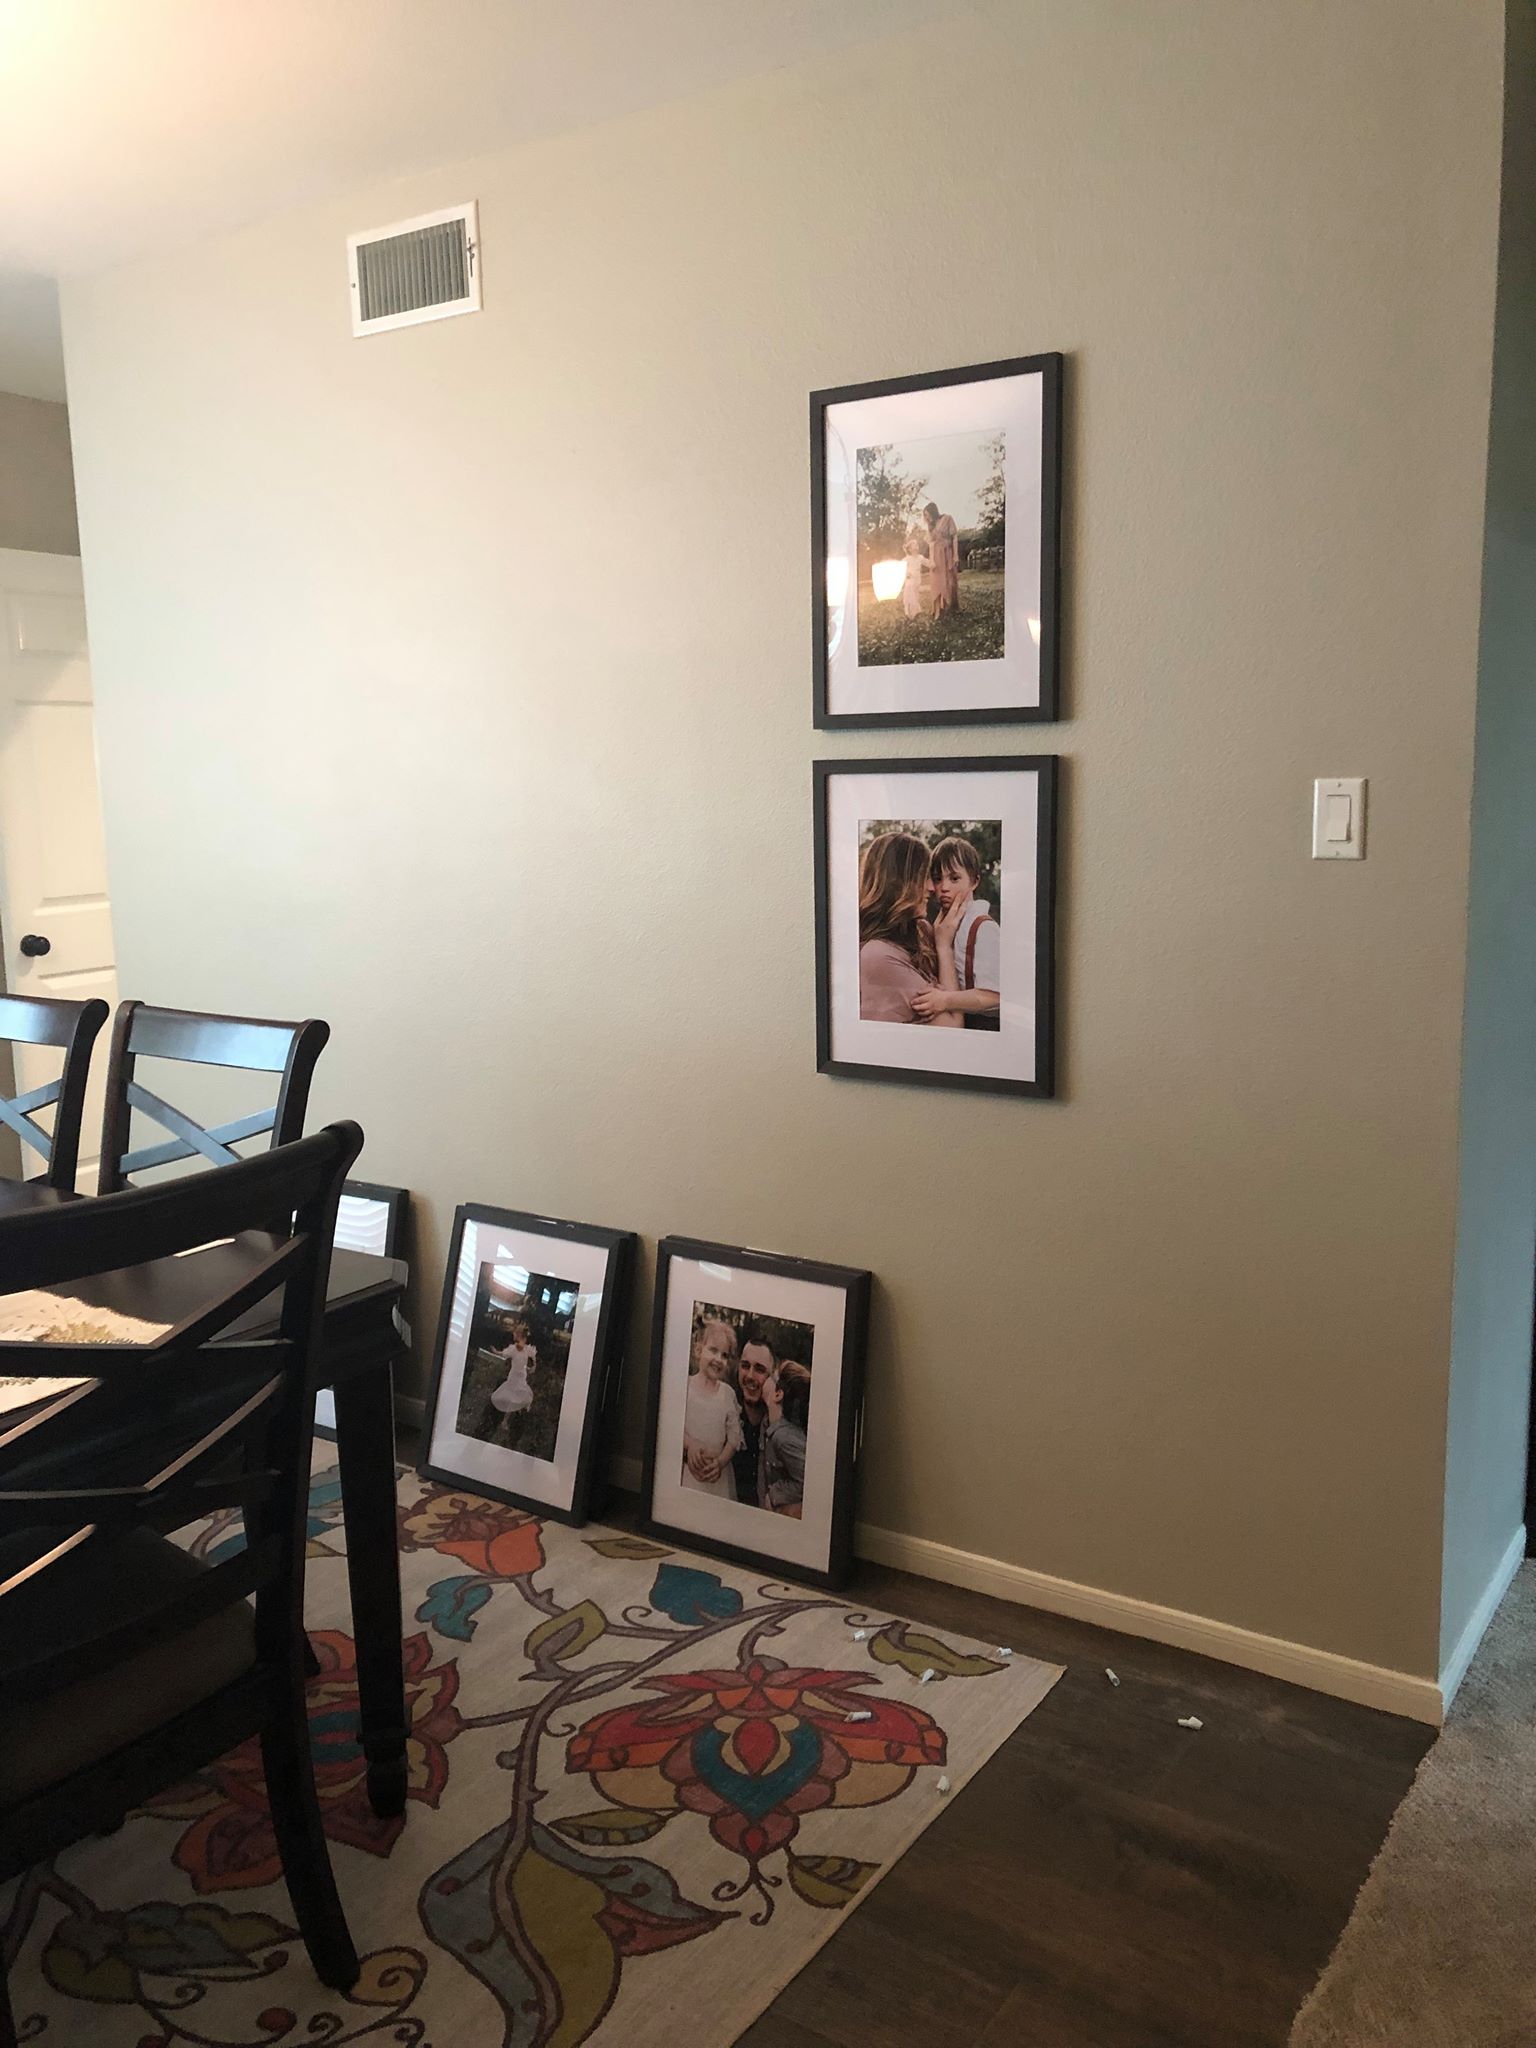
Frame your images and then lay them out on the floor. I always lay them out and try to focus on how each image looks combined with the rest.
-
Peel and stick command strips to the back of the frames. These things are amazing! If you make a mistake, you can peel it off and start over!! I only have one side adhered to the frame. The other side has the protective backing on it until I am ready to stick it to the wall. From here, comes the part that may or may not end my marriage for the day…
-
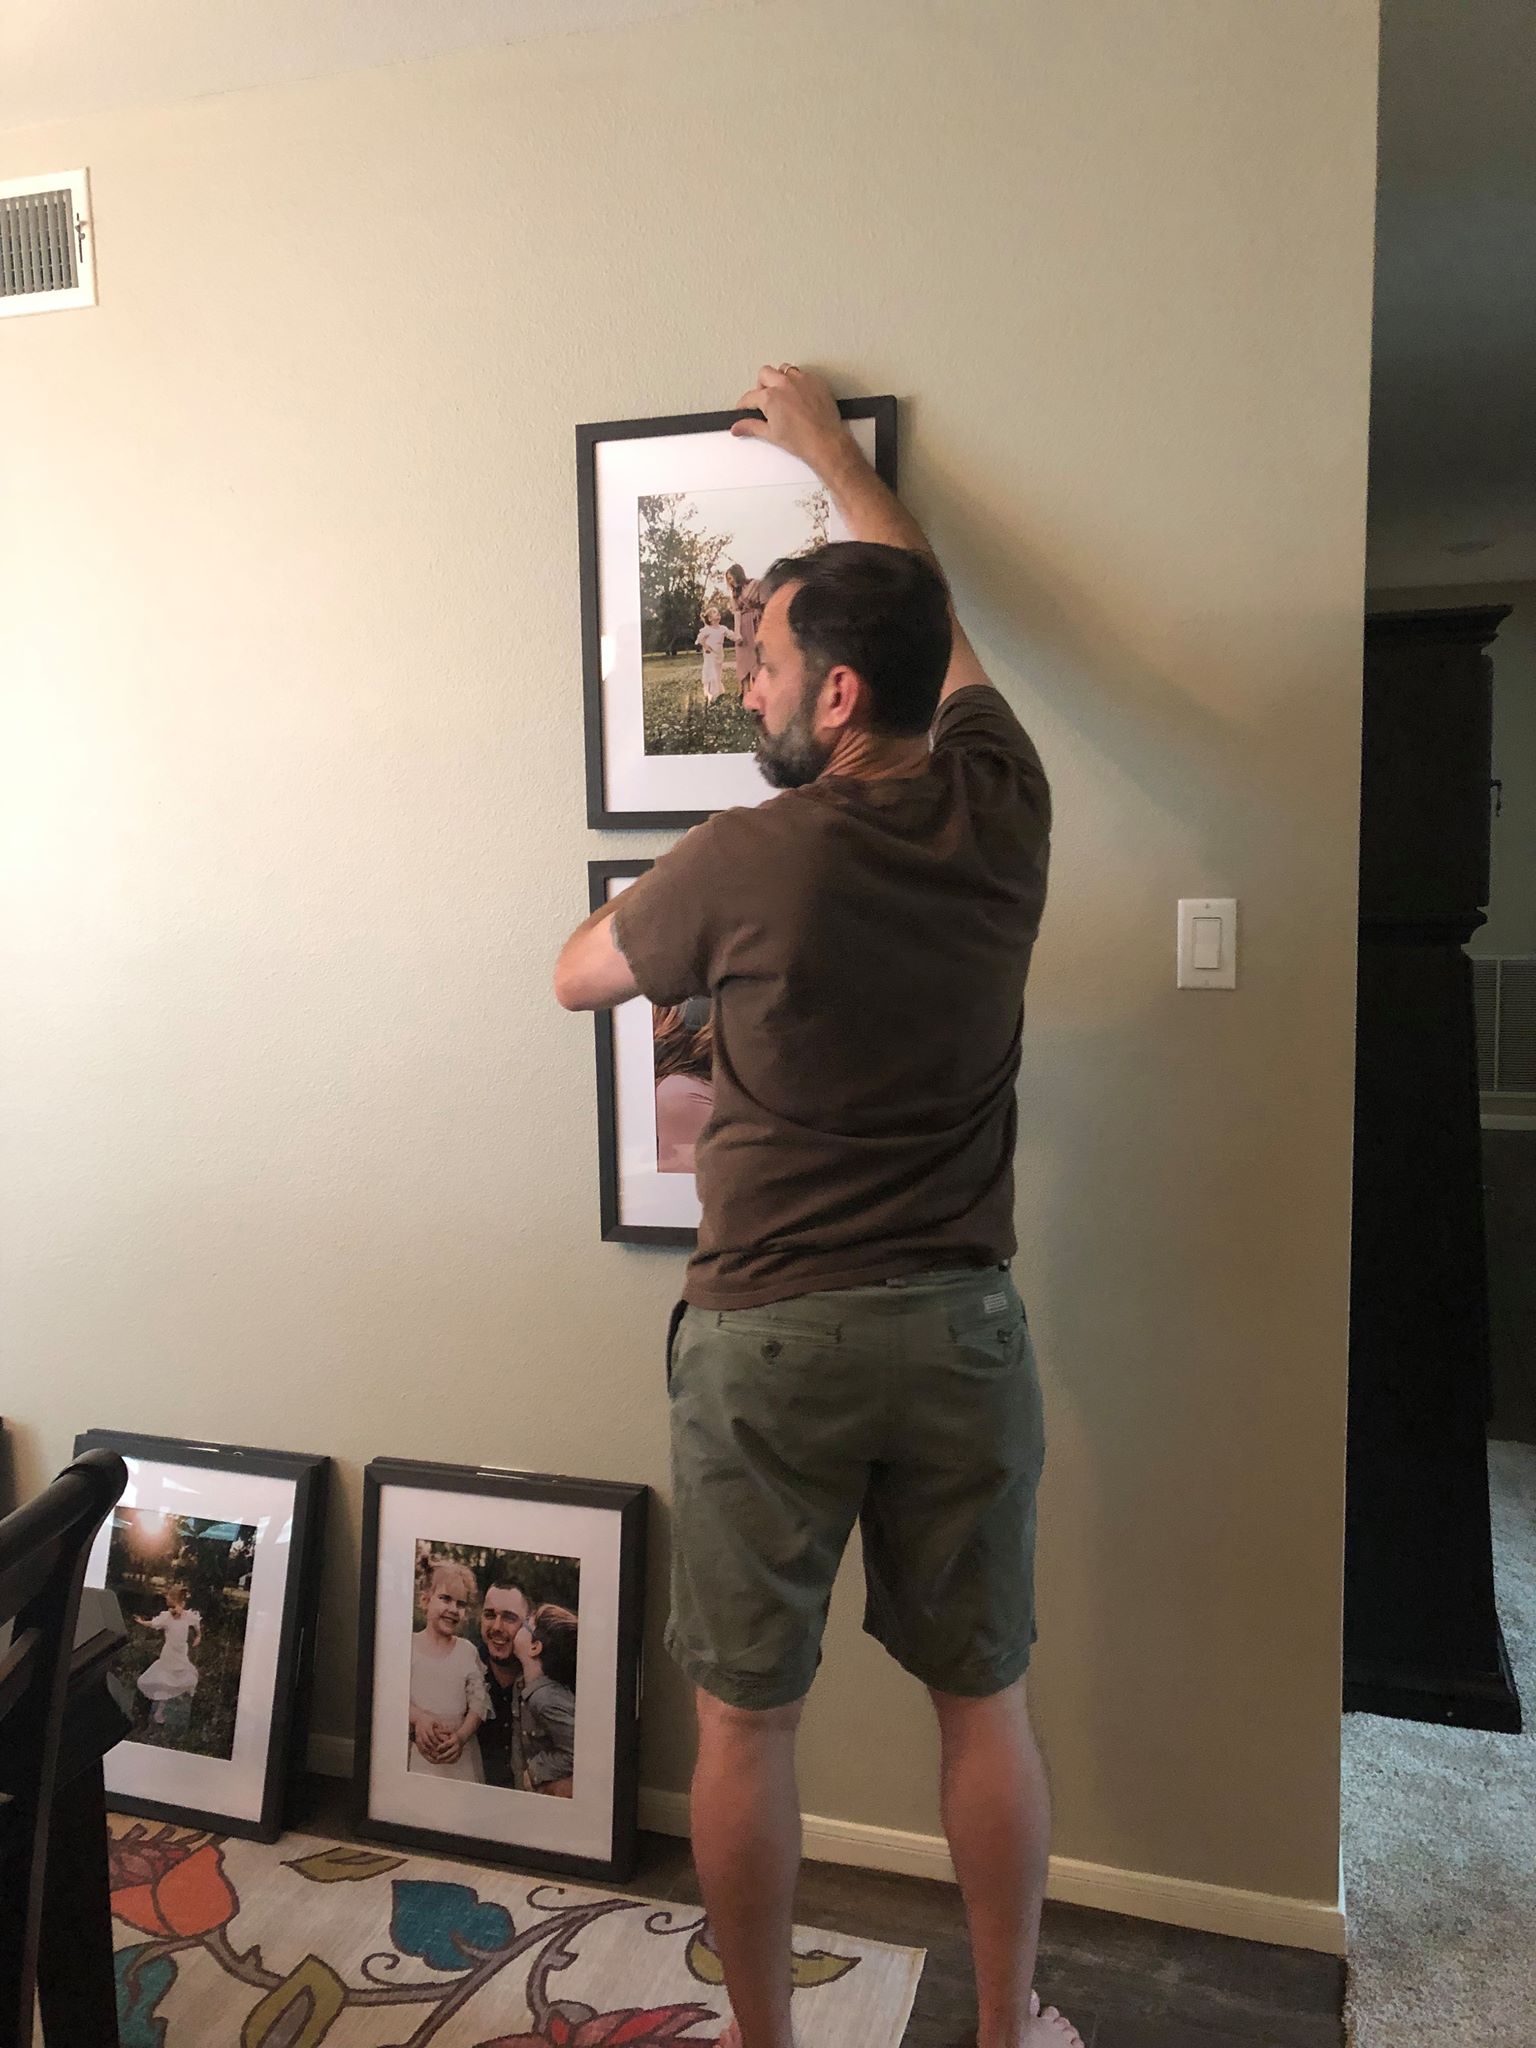
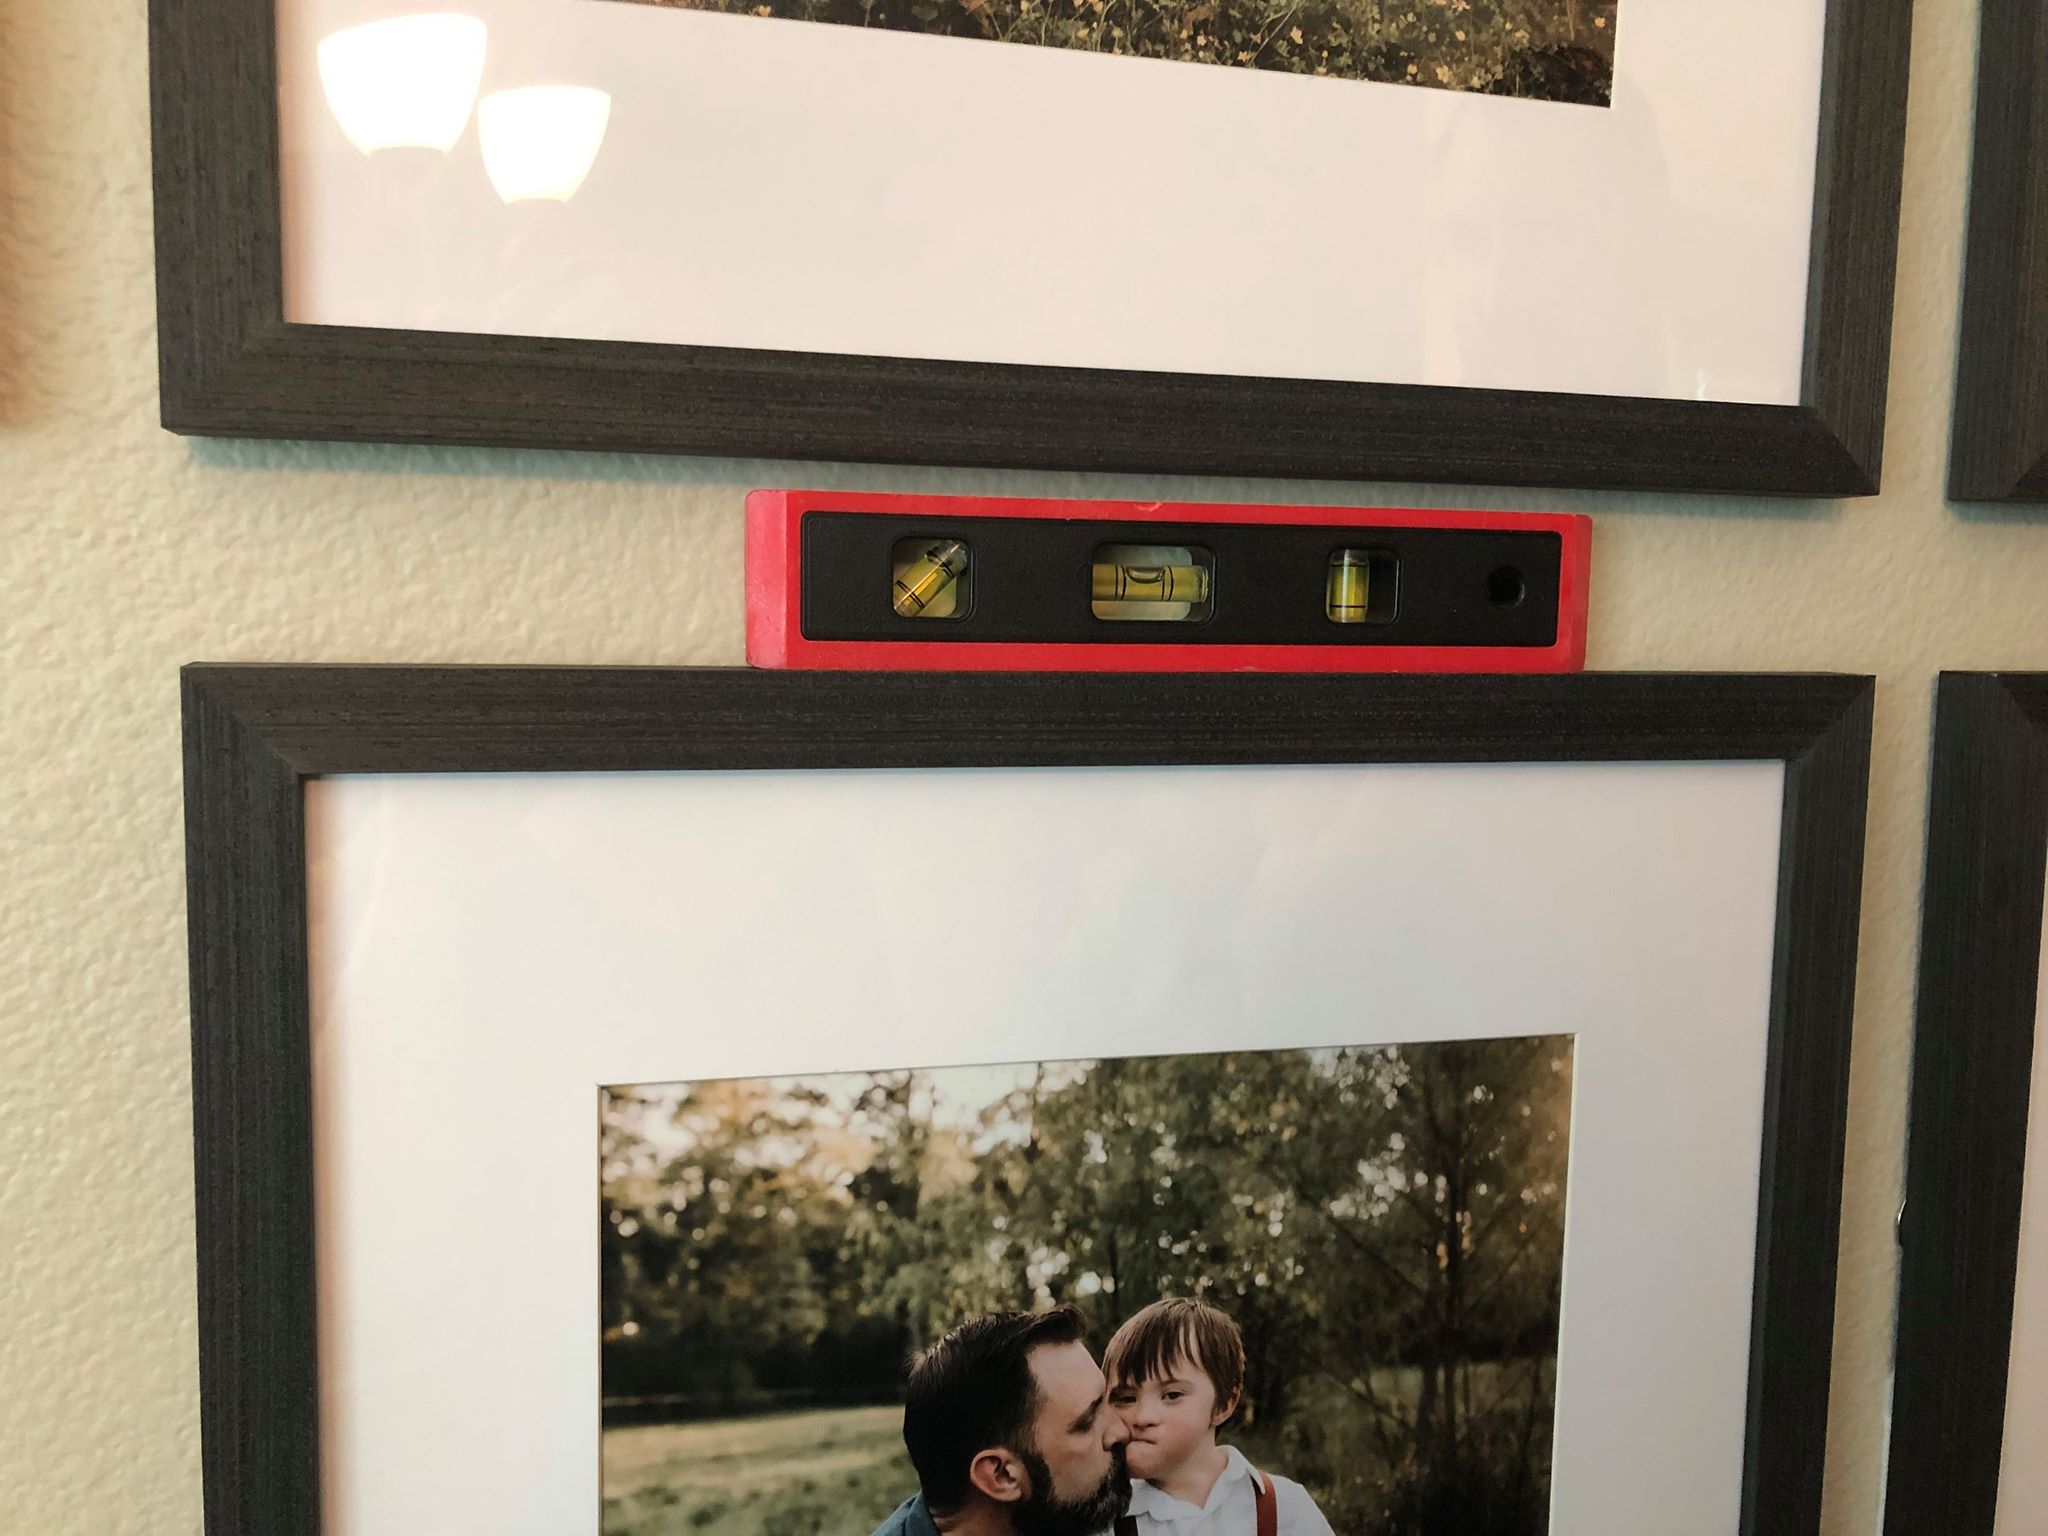
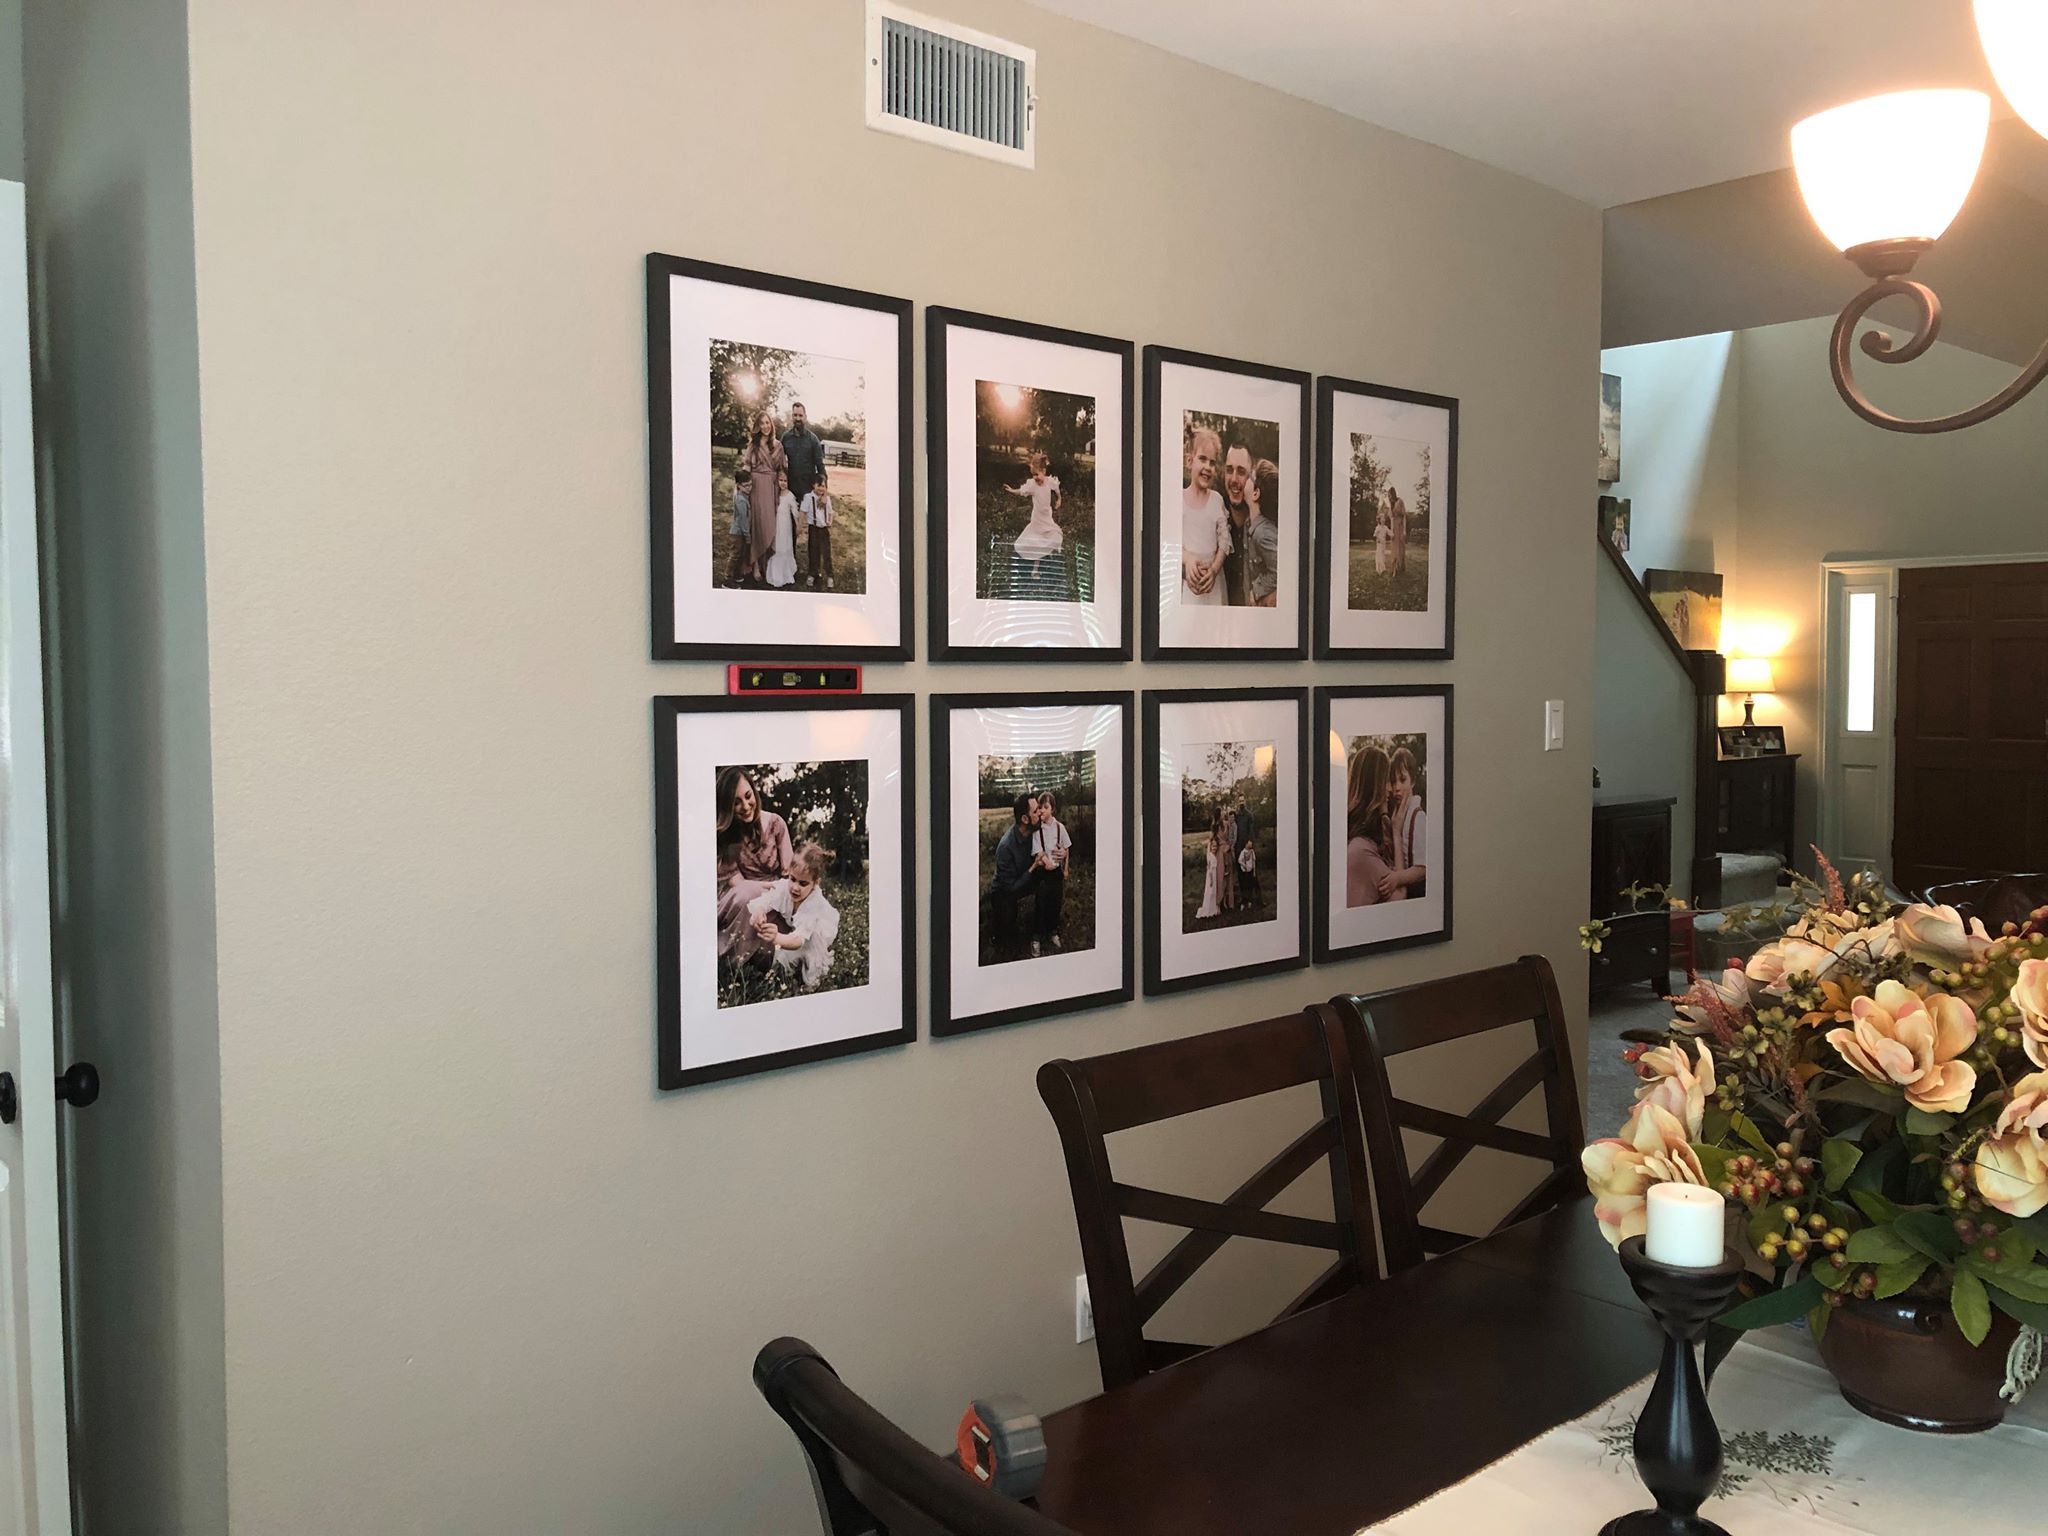
You can either eyeball or measure out where you would like the images to be. Since I already had my wrapping paper on the wall, I had a general idea of where I wanted my frames to be. So we just eyeballed it. This part takes two people and a level. I placed the level on top of the frame, and then had my husband stand where I wanted the pictures just to make sure I was totally good with the placement. Then, we peeled the backing off the command strip, hovered it near the spot we wanted and watched the level. As soon as the bubble said we were straight, we pushed it into the wall. Perfect!!
-
After that, we just repeated the process with him directing me as I tweaked the frame until it was even. No chalk line. No measuring. And if we messed up, we could take it down mess free.
Moral of the story? Command strips are amazing. I use about 3-4 for each frame and we don’t fret over making anything exact. This is us, hanging pictures, filling our house with joy and not killing each other in the process. 😉
How do you display your family memories?




1 comment
Mia Evans
June 8, 2023 at 12:03 pmI find it interesting when you said that choosing bigger sizes would be a better choice. I will keep that in mind when I have family photos printed and get picture frames for them. My goal is to have a gallery wall of our photos from our travels as a family.
Comments are closed.